This is the new book I published in 2017 by Apress, Springer to introduce the use of OpenCV in Processing with a custom library I developed.
Check out more details at the Apress website.
This is the new book I published in 2017 by Apress, Springer to introduce the use of OpenCV in Processing with a custom library I developed.
Check out more details at the Apress website.

This is the book I wrote for the Packt Publishing in 2013. It is an introductory book on multimedia production with the GEM library in the Pure Data graphical programming language.
05/07/2014 – The library is renamed again to Kinect4WinSDK in order not to use the prefix P or P5. It has been built in Windows 7, Kinect for Windows SDK 1.8, Java JRE 1.7u60 and Processing 2.2.1.
05/04/2014 – The library is renamed to P5Kinect according to suggestion from the Processing community, in order not to mix up with official Processing class.
28/03/2014 – The library is updated for the use of Kinect for Windows SDK 1.8, Java JRE 1.7u51 and Processing 2.1.1.

The Kinect for Processing library is a Java wrapper of the Kinect for Windows SDK. And it of course, runs in Windows platform. At this moment, I have only tested in Windows 7. The following 4 functions are implemented. All images at this moment are 640 x 480.
GetImage() returns a 640 x 480 ARGB PImage.
GetDepth() returns a 640 x 480 ARGB PImage. The image is, however, grey scale only. It resolution is also reduced from the original 13 bits to 8 bits for compatibility with the 256 grey scale image.
GetMask() returns a 640 x 480 ARGB PImage. The image is transparent in the background using the alpha channel. Only those areas with players are opaque with the aligned RGB images of the players.
Skeleton tracking is a bit complicated. The library will expect 3 event handlers in your Processing sketch. Each event handler uses one or two arguments of type SkeletonData (to be explained later). Each SkeletonData represents a human figure that appears, disappears or moves in front of the Kinect camera.
appearEvent – it is triggered whenever a new figure appears in front of the Kinect camera. The SkeletonData keeps the id and position information of the new figure.
disappearEvent – it is triggered whenever a tracked figure disappears from the screen. The SkeletonData keeps the id and position information of the left figure.
moveEvent – it is triggered whenever a tracked figure stays within the screen and may move around. The first SkeletonData keeps the old position information and the second SkeletonData maintains the new position information of the moving figure.
Please note that a new figure may not represent a real new human player. An existing player goes off screen and comes back may be considered as new.
The SkeletonData class is a subset of the NUI_SKELETON_DATA structure. It implements the following public fields:
public int trackingState;
public int dwTrackingID;
public PVector position;
public PVector[] skeletonPositions;
public int[] skeletonPositionTrackingState;
import kinect4WinSDK.Kinect; import kinect4WinSDK.SkeletonData; Kinect kinect; ArrayListbodies; void setup() { size(640, 480); background(0); kinect = new Kinect(this); smooth(); bodies = new ArrayList (); } void draw() { background(0); image(kinect.GetImage(), 320, 0, 320, 240); image(kinect.GetDepth(), 320, 240, 320, 240); image(kinect.GetMask(), 0, 240, 320, 240); for (int i=0; i =0; i--) { if (_s.dwTrackingID == bodies.get(i).dwTrackingID) { bodies.remove(i); } } } } void moveEvent(SkeletonData _b, SkeletonData _a) { if (_a.trackingState == Kinect.NUI_SKELETON_NOT_TRACKED) { return; } synchronized(bodies) { for (int i=bodies.size ()-1; i>=0; i--) { if (_b.dwTrackingID == bodies.get(i).dwTrackingID) { bodies.get(i).copy(_a); break; } } } }
It is a simple smile detection library for the open source programming environment – Processing.
Download the sample application with the library in code folder.
This is my second Processing library to implement a simple interface to the ARToolKit using the JARToolKit (obsolete).
Download the SimpleARToolKit library here.
This is the first library I write for Processing. It is, however, obsolete as the OpenCV library has already included the face detection feature.
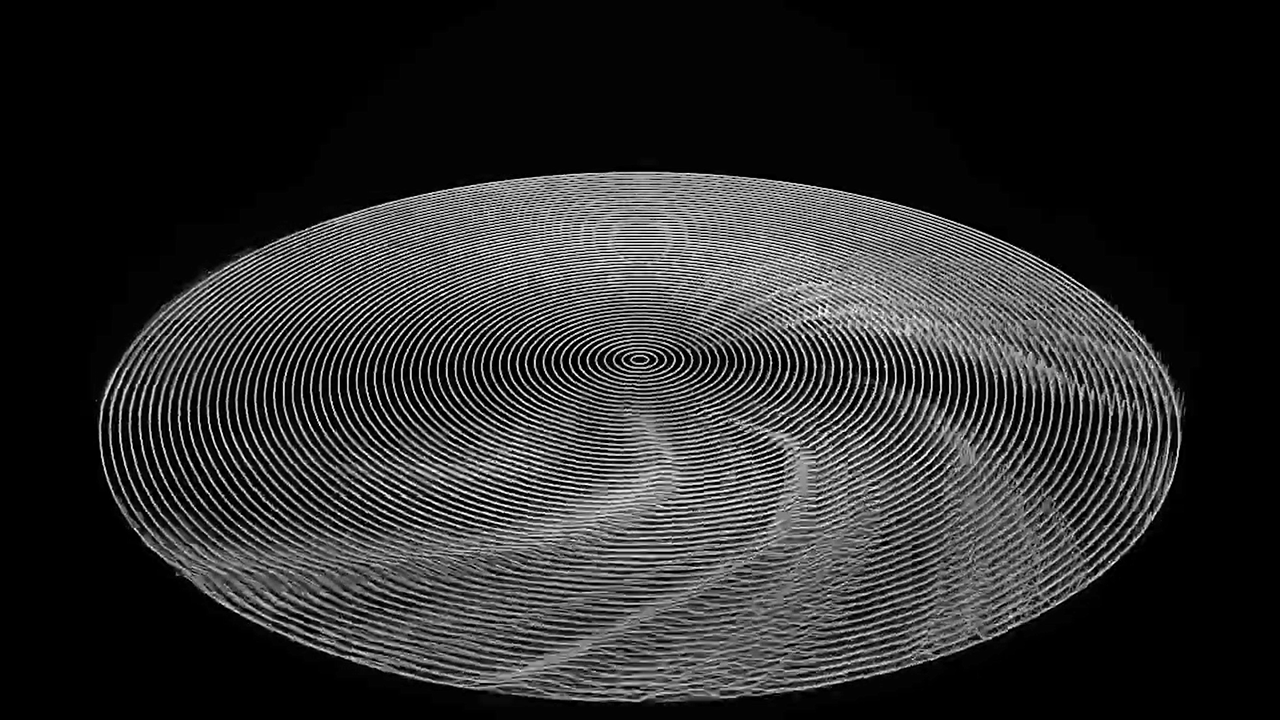
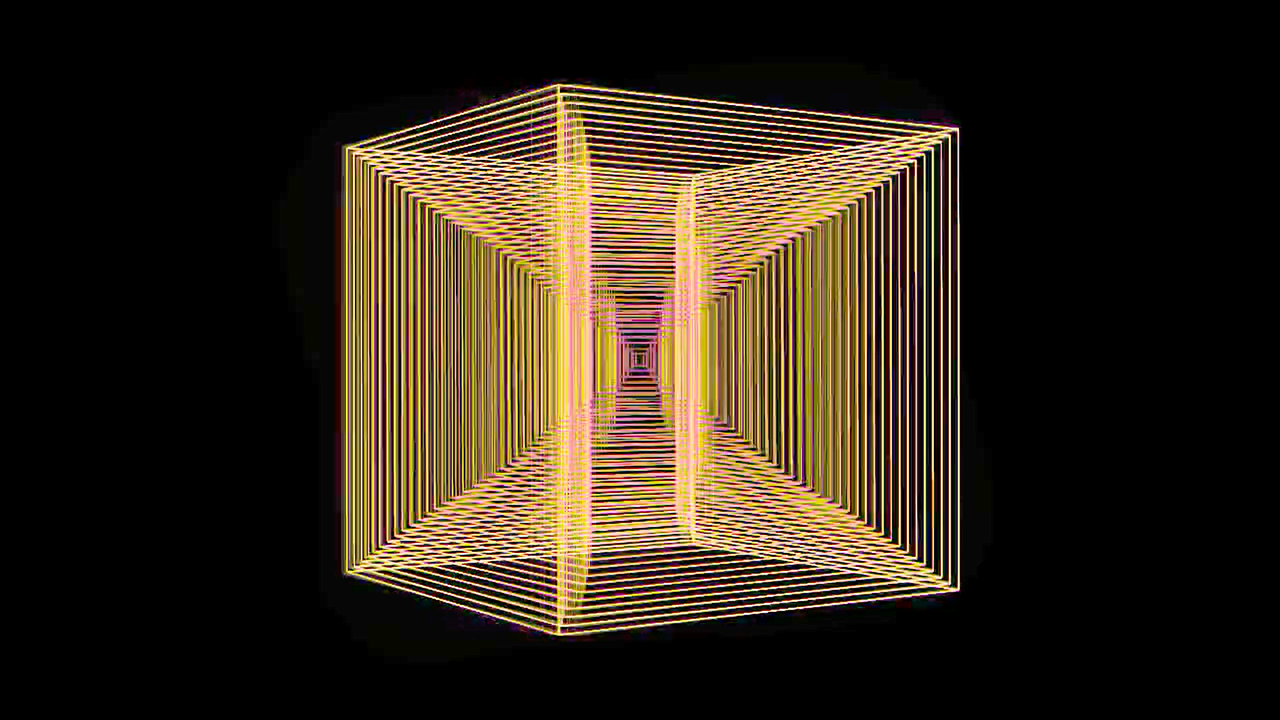
The piece of audio visualisation artwork traced and responded to a piece of disappearing music/song in Hong Kong recently, due to its relation with the 2019 protest. It was a month long exercise (14 June – 13 July 2023) to create visualisations of the music using the various strategies in TouchDesigner, every day before the music disappears in the public domain, after the final court verdict.
Unlike musical notations, audio visualisation is an irreversible process. It is quite impossible to recover the original music/song given a few visualisations of the same piece. Nevertheless, the variation in loudness, pitch and perhaps timbre can be visible.
Here is the complete YouTube playlist and the source files in the GitHub repository.
Here are the screenshots all the animations in a month.


I was commissioned to work on a new version of the Movement in Time, Part 2 project for the exhibition, By the People: Creative Chinese Characters. In the exhibition, I created two versions of the artwork.
The two artworks are the re-interpretation and re-development of the original computational cinema artwork. The original inspiration came from the legend that when the great Chinese calligrapher, Zhang Xu watched the sword dance of the Lady Gongsun, he invented the wild cursive style calligraphy. With the use of computer vision and basic machine learning technologies, I speculated on the possibility to automatically transform a martial art fighting sequence into cursive style Chinese calligraphy.

It analyses the fighting sequences from two classical martial art films, Burning of the Red Lotus Monastery, 1963 and Dragon Inn, 1967 and transforms those sequences into cursive style Chinese calligraphy with characters generated from the famous text, Thousand Character Classic.
I developed a custom software in Python to extract the motion data with optical flow analysis. Ten frames of the motion data are summarised into 10 3×3 grid, similar to the one we used to learn Chinese calligraphy in our childhood. The motion data from the fighting sequences is matched against a database of 1,000 Chinese characters written in cursive script style using the same 10x3x3 model. An animation of the matched character is displayed on the screen according to the proper calligraphic stroke order and thickness.

It is an interactive edition of the former one, interpreting the live movement of the audience member and transforms it into cursive style Chinese calligraphy in real time to be shown in the exhibition venue in the Hong Kong Museum of Art.
The underlying mechanism of the interactive version is similar to the cinematic one. Instead of using optical flow to analyse the motion data, the interactive version uses the Google MediaPipe machine learning library for gesture tracking. The captured data is also matched against the same database of 1,000 characters with the 10 frames of 3×3 grid model. In addition to showing the cursive style writing of the Chinese character, the software also simulates the dancing movement of two ribbons attaching to the two hands of the audience member. It creates the intersection of virtual dance movement and real physical body movement, with reference to another performance piece from the Taiwanese Cloud Gate Dance Theatre. Below is a test of concept using the dance sequence from a similar work by the Cloud Gate Dance Theatre related to Chinese calligraphy.
The cursive style Chinese calligraphy of the Thousand Character Classic was written by Ms Lam Lai-sha, Lisa based on the version of Yu Youren.
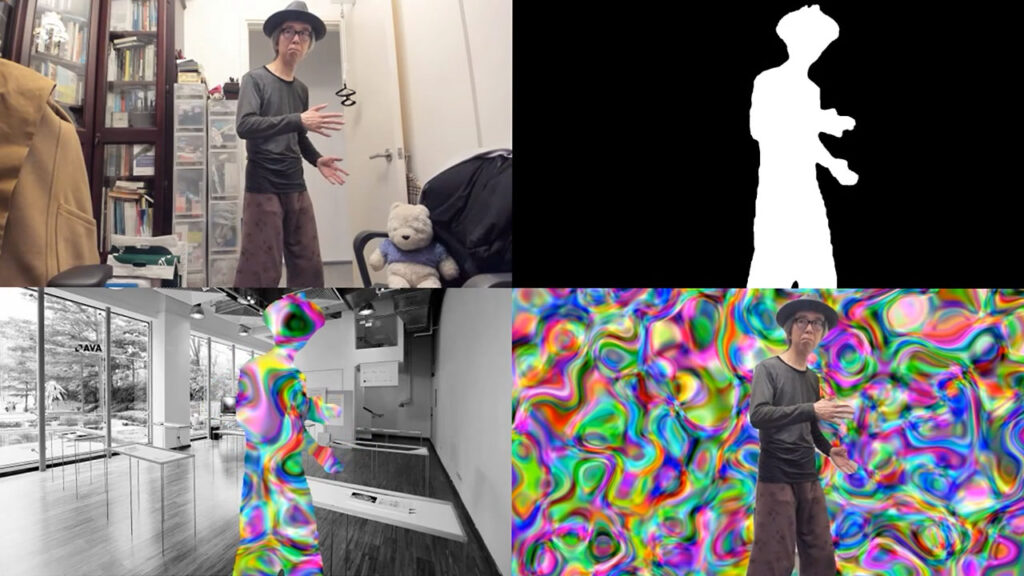
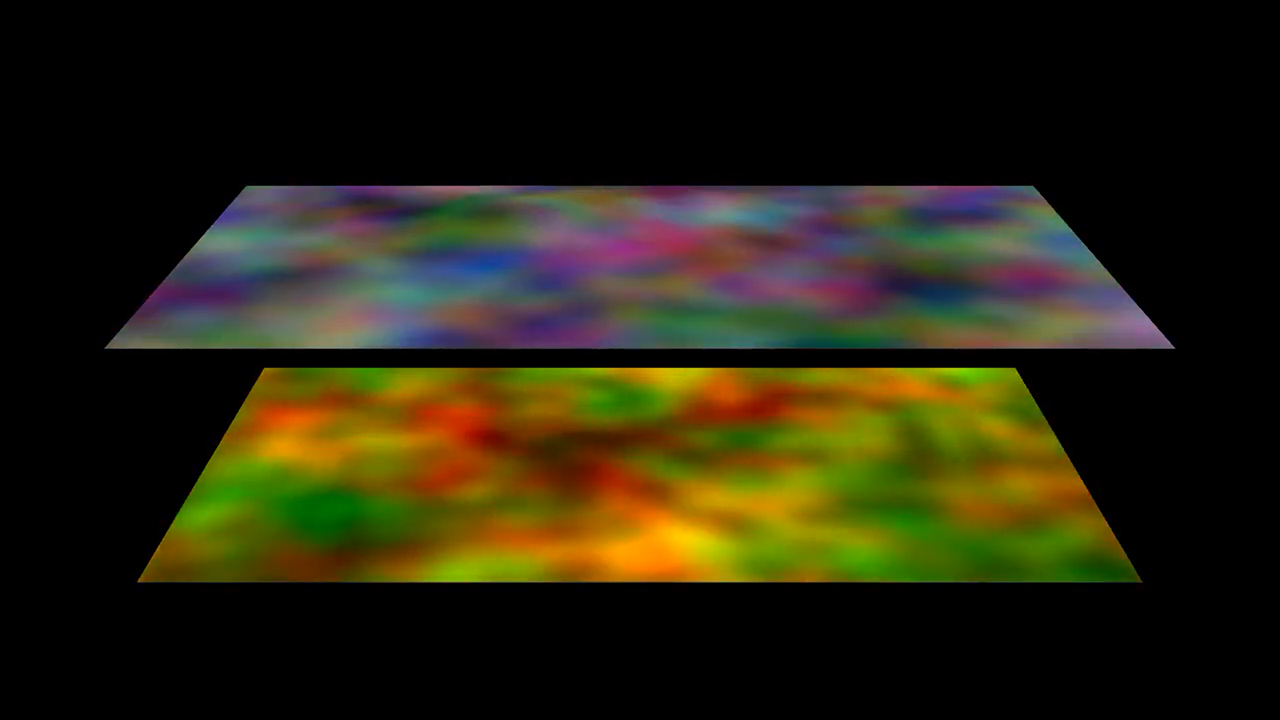
The tutorial is an updated version of the MediaPipe Pose using the new segmentation mask function to identify the human body tracked. It used the Script TOP to generate the mask image. Users can further enhance the image with the Threshold TOP for display purpose. Similar to the previous tutorials, it assumes the installation of Python 3.7 and the MediaPipe library through Pip.
The source TouchDesigner project file is available in my TouchDesigner GitHub repository. The Python code is relatively straighforward. The pose tracking results will include an array (segmentation_mask) of the size of the tracked image. Each pixel will have a value between 0.0 to 1.0. Darker value will be the background while brighter value will likely be the tracked body. Here is the full listing.
# me - this DAT
# scriptOp - the OP which is cooking

import numpy as np
import cv2
import mediapipe as mp

mp_drawing = mp.solutions.drawing_utils
mp_pose = mp.solutions.pose

pose = mp_pose.Pose(
	min_detection_confidence=0.5,
	min_tracking_confidence=0.5,
	enable_segmentation=True
)

def onSetupParameters(scriptOp):
	return

# called whenever custom pulse parameter is pushed
def onPulse(par):
	return

def onCook(scriptOp):
	input = scriptOp.inputs[0].numpyArray(delayed=True)
	if input is not None:
		image = cv2.cvtColor(input, cv2.COLOR_RGBA2RGB)
		image *= 255
		image = image.astype('uint8')
		results = pose.process(image)

		if results.segmentation_mask is not None:
			rgb = cv2.cvtColor(results.segmentation_mask, cv2.COLOR_GRAY2RGB)
			rgb = rgb * 255
			rgb = rgb.astype(np.uint8)
			scriptOp.copyNumpyArray(rgb)
		else:
			black = np.zeros(image.shape, dtype=np.uint8)
			scriptOp.copyNumpyArray(black)
	return